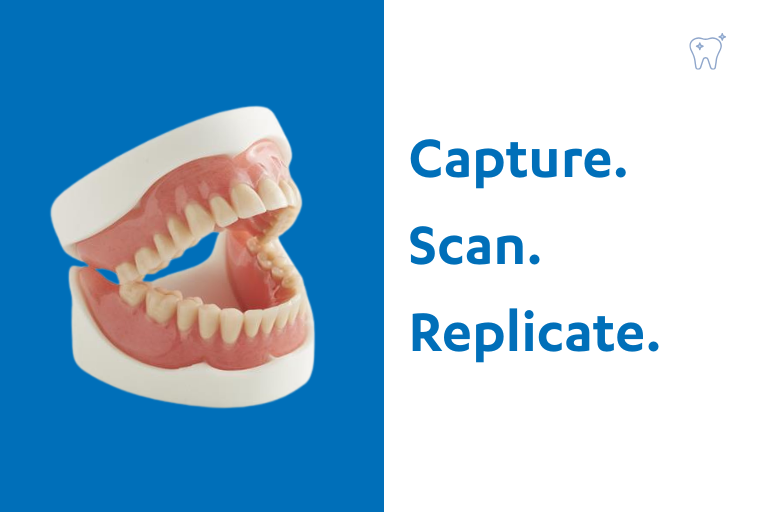
As digital workflows continue to evolve, so too do the techniques that underpin efficient and accurate prosthodontic outcomes. One such advancement is the use of wash impressions for digital replica dentures – a simple yet highly effective method that offers better precision, faster turnaround times, and seamless integration into your practice’s daily rhythm.
At Southern Cross Dental, we’re committed to helping clinicians transition to digital protocols with confidence. Our latest video demonstrates a straightforward step-by-step protocol to capture a wash impression for a digital replica denture. Here’s a summary of what’s covered.
Step 1: Assess Retention
Begin by evaluating the retention of the existing denture—in this case, an upper denture. The current fit will guide your impression strategy and highlight areas requiring attention.
Step 2: Apply Adhesive
Apply adhesive to the denture’s acrylic surface before using PVS (polyvinyl siloxane) medium body material. This helps prevent the material from detaching during the border moulding stage. It’s a small but essential step to ensure a stable impression base.
Step 3: Border Moulding and In-Situ Seating
Seat the denture in the mouth and apply a gentle seating force. Engage in muscle trimming, allowing the patient’s natural muscle movement to shape the impression material. This technique ensures that the resulting contours match the patient’s functional anatomy.
Step 4: Trim and Refine
Once set, carefully trim any excess material from the post-dam area. Avoid trimming within the fitting surface, as this may alter the final impression’s accuracy.
Step 5: Light Body Impression
Apply a light body PVS material evenly, ensuring an air-free, low-viscosity layer. A thin application is usually sufficient. Reinsert the denture in the same position – it should “click” back into place. A second round of muscle trimming further refines the margins.
Step 6: Clean Excess
After setting, remove excess material from the buccal and labial areas. This results in an impression that offers improved retention and anatomical accuracy.
Step 7: Scanning for Digital Duplication
The scan is performed extra-orally. Begin at the labial frenum and move in a slow, continuous motion across the rugae and palate. Avoid overlapping or backtracking, which can distort data. Aim for a full 360-degree scan, covering the intaglio and cameo surfaces. With today’s intraoral scanners, a detailed capture can be achieved in just a few minutes.
Step 8: Recording the Bite
Finish the workflow by recording the bite:
1. Apply bite registration material as per your standard protocol.
2. Scan in centric relation when prompted by your scanner dashboard.
This completes the process – ready for digital duplication at the lab.
Why This Protocol Matters
Using a digital wash impression technique like this offers several clinical advantages:
• Accuracy: Functional movements define the contours.
• Speed: Less chair time and fewer appointments.
• Digital Integration: Easily scan-able and ready for CAD/CAM duplication.
Digital replica dentures are particularly beneficial for patients needing a replacement that mimics a well-functioning original denture – for aesthetic, functional, or time-sensitive reasons. Watch the Video below.
Explore our other blogs for more video tutorials, protocols, and clinical tips. Contact Southern Cross Dental today to revolutionise your practice with digital dentures. As a full-service lab, we offer services that enable you to order a case, streamlining the entire ordering process.